 |
 |

| Main page | Projects | Electronics | Building furniture | Recipies | Corgies | About me |
| Building furniture | Bookshelf | Bed | Desk | Sideboard |
Base
Side plate
Top cover
Doors/drawers
Shelves/varnishing
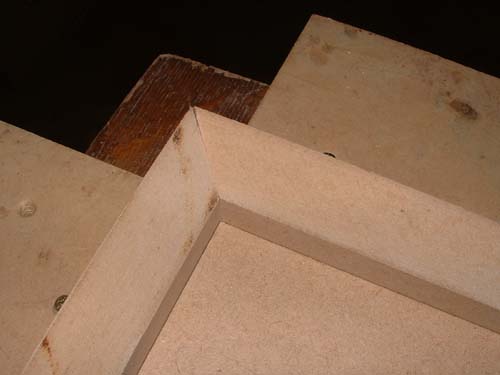
Top coverFirst tryThe top cover consists of four parts. Besides the large plate the are 32 mm wide bars glued to the front and the sides of it, which makes the top cover look like it is 50 mm thick. The pictues below show the gluing of the side bars. To make it a bit more stable, I milled a groove into the top plate. The front bar also has a groove. 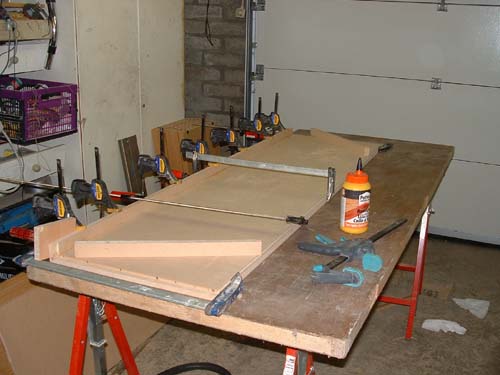
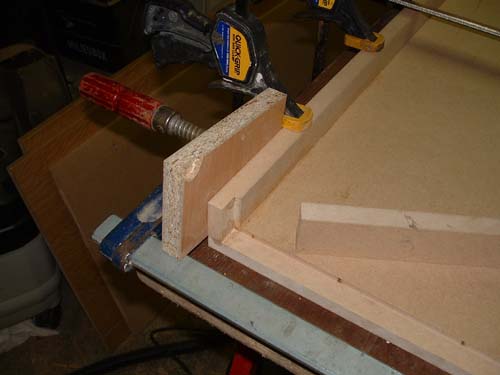
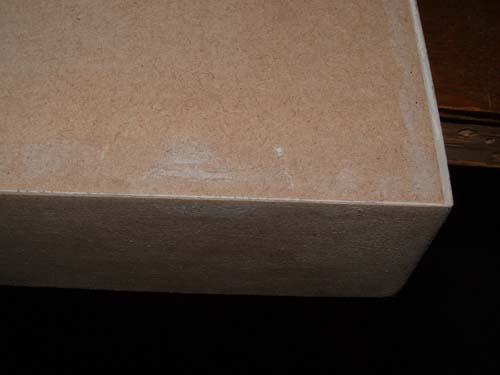
When the guy who aas going the varnish the sideboard came by, he was very critical about the construction of the top cover. He told me that the junction between the top plate and the side bars would always be visible, even after smoothing an grinding. That made me think about it. And now how it should beThe only way the make the junction invisible is by chamfering the sides with an angle of 45° and thereby placing the juctions at the edges. This is relatively easy when you can set the circular saw exactly to 45°. Unfortunately this is not so easy with the saw of Festools. After trying it form quite a while I finally managed to get it reasonable OK. To cut the short ends of the side bars, I put both bars togehter with some clamps and moved them by the saw like this. 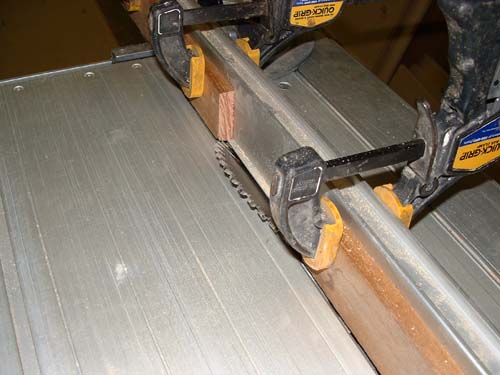
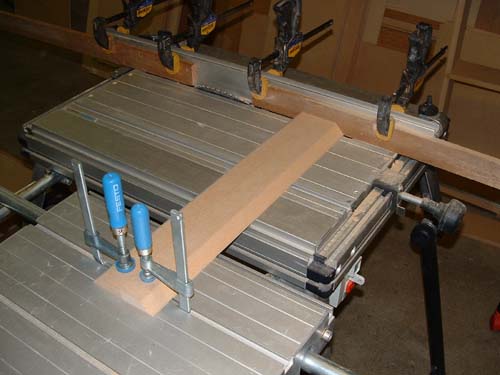
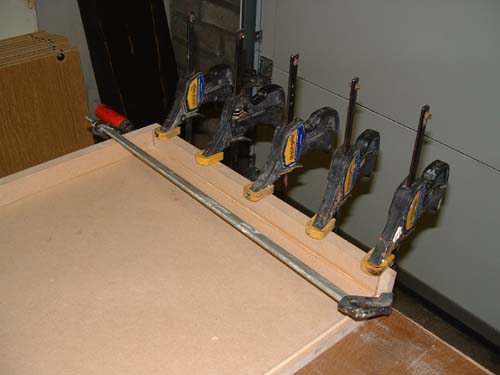
For gluing the parts together, I screwed several helping plates on the worktop, so they couldn't move during the process. This worked out quite well. First I glued all bars together and then glued those onto the top plate. 
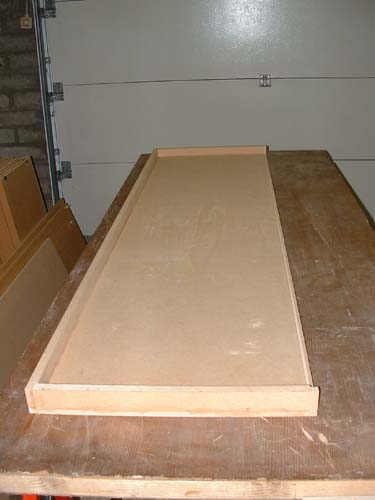
Since all didn't fit exactly, I had to smooth the edges, as the following picture show. After smoothing and grinding several times, the result was very good. 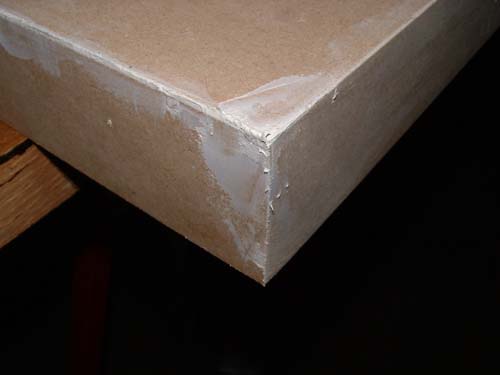
Finally some connection bolts were mounted in the top cover, so it can be connected to the rest of the sideboard. Furthermore the top rails for the folding doors are mounted on some wooden blocks on the left and right side of the cover. I screwed the rails into the top cover when the sideboard was assembled. 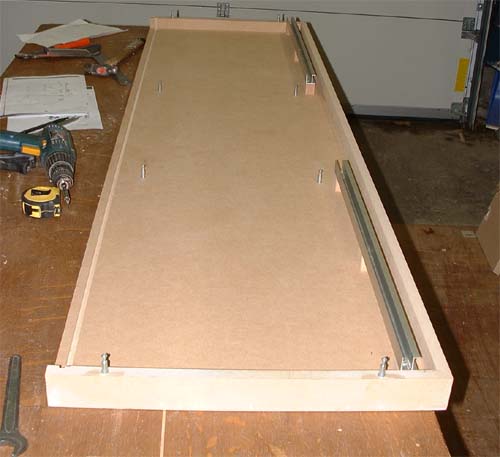
|
