 |
 |

| Main page | Projects | Electronics | Building furniture | Recipies | Corgies | About me |
| Building furniture | Bookshelf | Bed | Desk | Sideboard |
Base
Side plate
Top cover
Doors/drawers
Shelves/varnishing
Side plates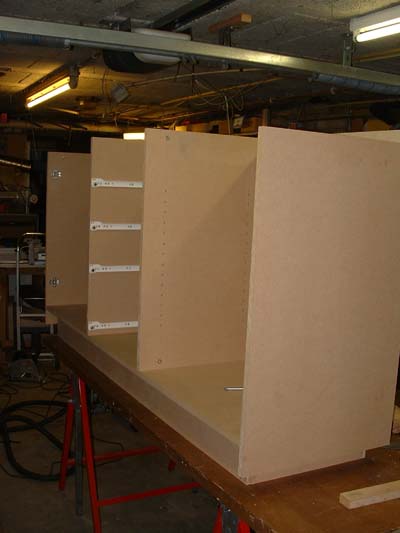 Exterior platesBoth side plates on the exterior of the sideboard are not place on, but next to the bottom plate. They are also screwed with Minifix-connectors (three per side plate). Because most of the weight is resting on these three bolts, I milled two grooves in the middle of the side of the bottom plate. Pieces of wood fit into the grooves and take the weight of the side plates, so the Minifix-connectors are only used to pull the side plates against the bottom plate.  The picture below shows both outer side plates, which lie on the bottom plate. The connection bolts and the small pieces of wood are already mounted. Furhtermore the mouting plates for the hinges can be seen. On the left grooves for the back planes have been milled, like in the bottom plate. For the shelves two rows of holes have been milled. 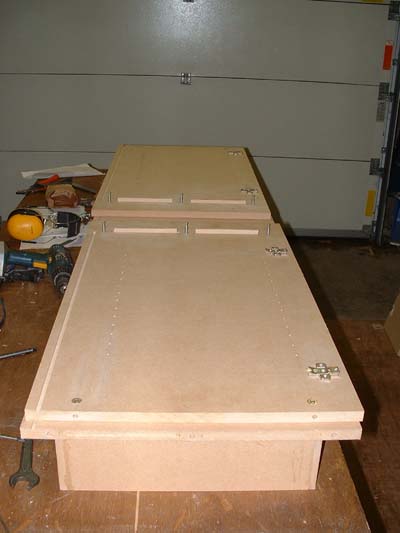 After mounting the first exterior side plate and the first back plane, the shape of the sideboard slowly can be recognized. 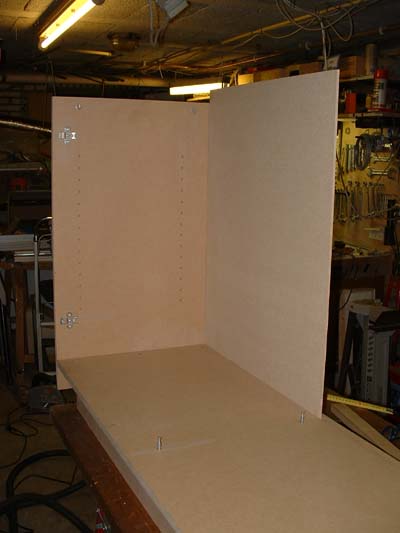 Interior platesBoth interior plates have the same rows with holes for the shelves as the exterior side plates. The next pictues shows how I milled those holes. Using a rail, on which a sub-base for the router engages in the rail every 32 mm, all holes get the same distance. 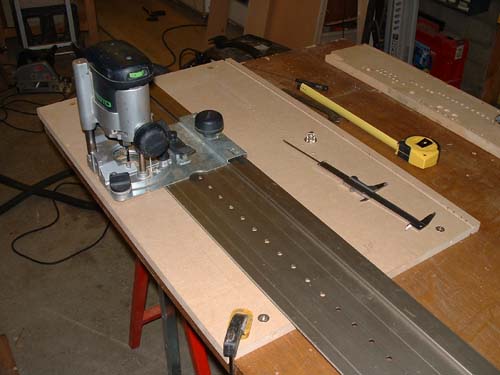 On the inside of the interior plates the rolles drawer slide are mounted. The pictues below showes how the four slides for the drawers sit on the inside. The bottom drawer is larger then the others. Why this is done can be seen here on the picture at the right on the bottom of the page. 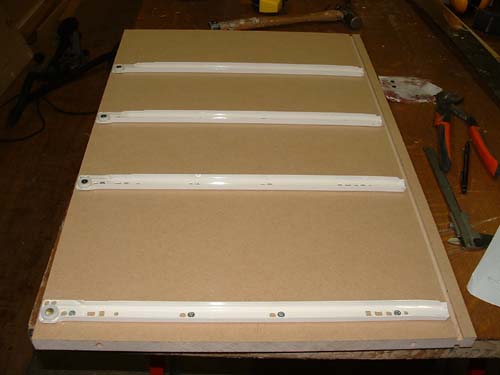 Behind the drawers there also is a back plane, which can't be seen from the front side. But it could be that the drawer doesn't stand against the wall someday and the back plane can be seen. |
